Your go-to guide to mastering your in-person market experience
Freebie alert: Market Must-Haves for Makers
Blog Categories
An exclusive online membership for makers and creative business owners ready ditch the overwhelm and hustle for consistent sales and flexible schedules.
The Marketing School for Makers
Membership
Hi! I’m Lucy.
Chardonnay and vintage finds lover, founder of the handmade jewelry brand bel monili *and* your new guide to making your handmade business WORK online.
Hey, I'm Lucy
Holiday Product Photography for Handmade Businesses
Filed under:
Product photography is probably one of the most important tasks that a maker can master if they want to sell their creations online. And when it comes to holiday product photography, you also need to convey the idea that your product will make the perfect gift for someone in their life.
Since your customers cannot see and touch your items in person, your photos must be their eyes and hands! Not an easy job.
If you haven’t taken photos of your products in a while, or if you’re just getting started, this is the perfect time to take some new pics with the holidays in mind.
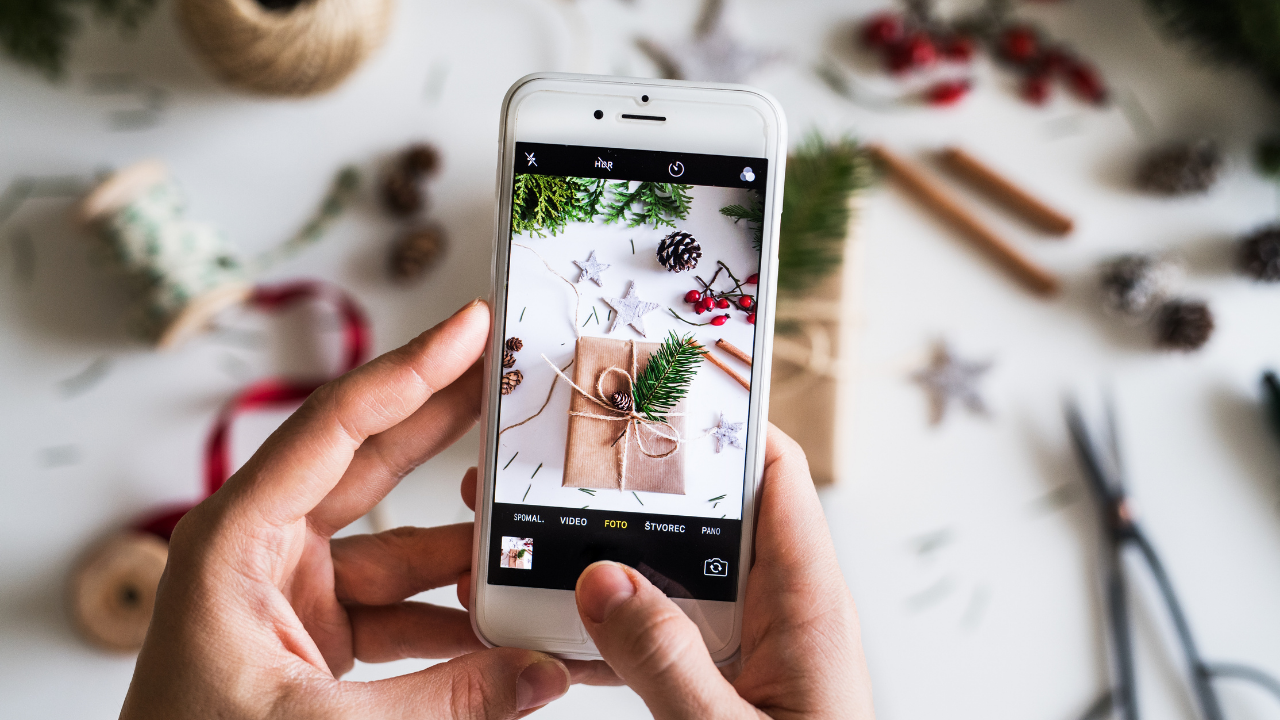
I’ve gathered the top tips for holiday product photography for handmade businesses, but many of these tips can be used year round.
Get your camera out and let’s begin!
Disclosure: some of the links below are affiliate links, meaning, at no additional cost to you, I will earn a commission if you click through and make a purchase.
Holiday Product Photography: Don’t Be a Scrooge When It Comes to Lighting
Lighting is the most important factor when it comes to taking great product photos. If you have poor lighting, no type of flat lay or camera setting is going to help.
Natural light is perfect for product photos. If you’re taking them outside, don’t put your items in direct sunlight. Find some shade, but set up right on the edge of the shade – right where the shadows meet the sun. That’s where you’ll get some lovely indirect light but without the harsh shadows that direct sunlight produces.
Inside, try to find a big window or open door to set up your photo station. Again, we want to avoid direct sunlight, but instead look for a bright indirect light. If the light is harsh, you can hang a white gauzy curtain over the window to diffuse the light.
If it’s a gloomy day or you live in Seattle (sorry!), you can use artificial light, although it’s a bit trickier to set up and requires some investment. Two soft box lights (you can find a set on Amazon) are the best way to light your products. They are diffused and you can adjust them to cancel out any shadows. They usually come with “daylight” bulbs so your colors will remain true.
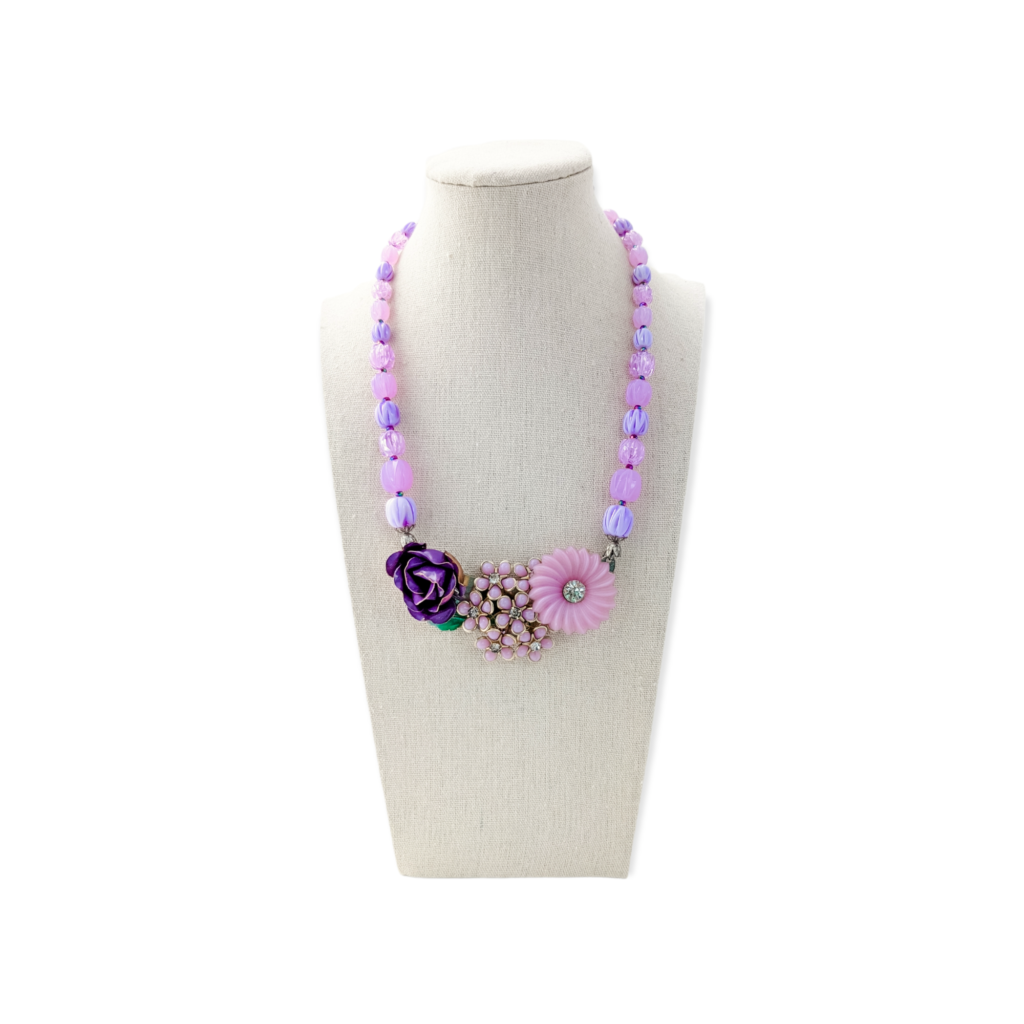
If you have jewelry or other small items, you can also purchase or set up a light box – these tend to help with shiny objects that have lots of reflections.
Above all, do not use a flash when taking product photos! It just doesn’t help.
It can be easy to just take a quick picture of your items on your dining room table, but your photos and your sales will suffer if you do not take the time to consider your lighting.
Compose Your Photos Like Your Best Letter to Santa
The composition of your product photos will help highlight your creations and capture a scrolling eye. Remember you are competing with thousands of other products online. Treat your photos like your best letter to Santa – bright, fun, and straight to the point!
Your background should be clean and uncluttered. If you have a color for your brand that you like to use, that’s great! Otherwise, pick a neutral color that makes your products pop. Jewelry looks great on white backgrounds, while light-colored knits look gorgeous on a wood texture. Make sure there’s nothing in the background to distract from your product!
You can pick up a piece of white poster board to get started. Just put it on a table against a wall, and lean the poster board on the wall so it curves down onto the table.
Make sure you leave enough space around the product. Don’t crop in too close when taking your photos – you can always crop the images later if needed. But the eye needs a little break, so having some space around the product makes it easier for the viewer to focus on what’s important.
To add some holiday flare, a prop or two can really set the mood without taking the focus away from your products. Consider a couple of pinecones, a red ribbon, or a small bough of pine tree. Arranged in the right way, these props evoke a feel of the holidays without overdoing it like Clark Griswold’s house.

Make Your Photo List and Check It Twice
If you’ve been planning out your holiday marketing strategy, then you should have a line item on your list for holiday product photography.
Before you start shooting, make a list of shots that you want to take. Then plan out what you will need for each of those shots. Finally, take the same shot with all your products, before moving on to the next shot.
Here’s an example of this workflow:
Let’s say you make vinyl decal tumblers. You want to show each tumbler front and back, then you want to show them in a “lifestyle shot” (someone holding the tumbler in their kitchen or doing an activity), and then you want to show details of the tumblers (close-up shots of the decals, etc), and finally, you want photos of the packaging.
You’ll set up for your first shot – showing the front and back of the tumbler. Set up your photo station for this type of shot. This means getting your background set up, adding any props, and getting your lighting set.
Then you’ll take the front and back tumbler photos for all the tumblers you’re selling.
Once that’s done, you’ll set up for the 2nd shot – maybe it’s the details / close-ups. Again, arrange your setup and take photos of all your products with just this setup.
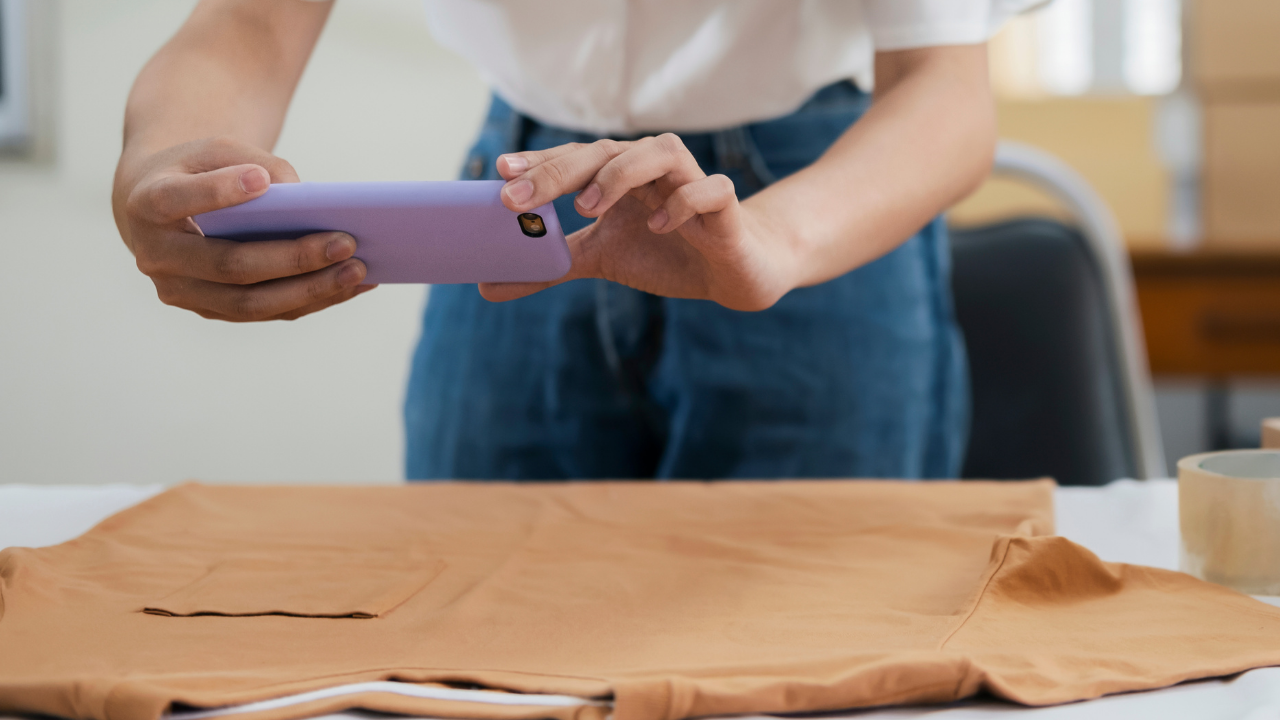
And on and on, going through each setup with every product.
This workflow is the most efficient and allows you to keep the quality of the photos the same for every product.
Take lots of pictures! You can always go back and delete, but it’s better to have more to choose from rather than missing a shot that you need.
Wrap Your Photos Like The Perfect Holiday Gift
Yes, I know you can’t actually “wrap” a photo! But you can treat it like it’s a very special gift for your potential customers.
If you’re taking product photos specifically for the holidays, be sure to infuse some fun and personality into them! Holiday gift-giving is supposed to be joyful, and your photos can convey that sense of joy. This is especially true for handmade products. Customers buy handmade because they like to support individual sellers – so show your individuality in your pictures!
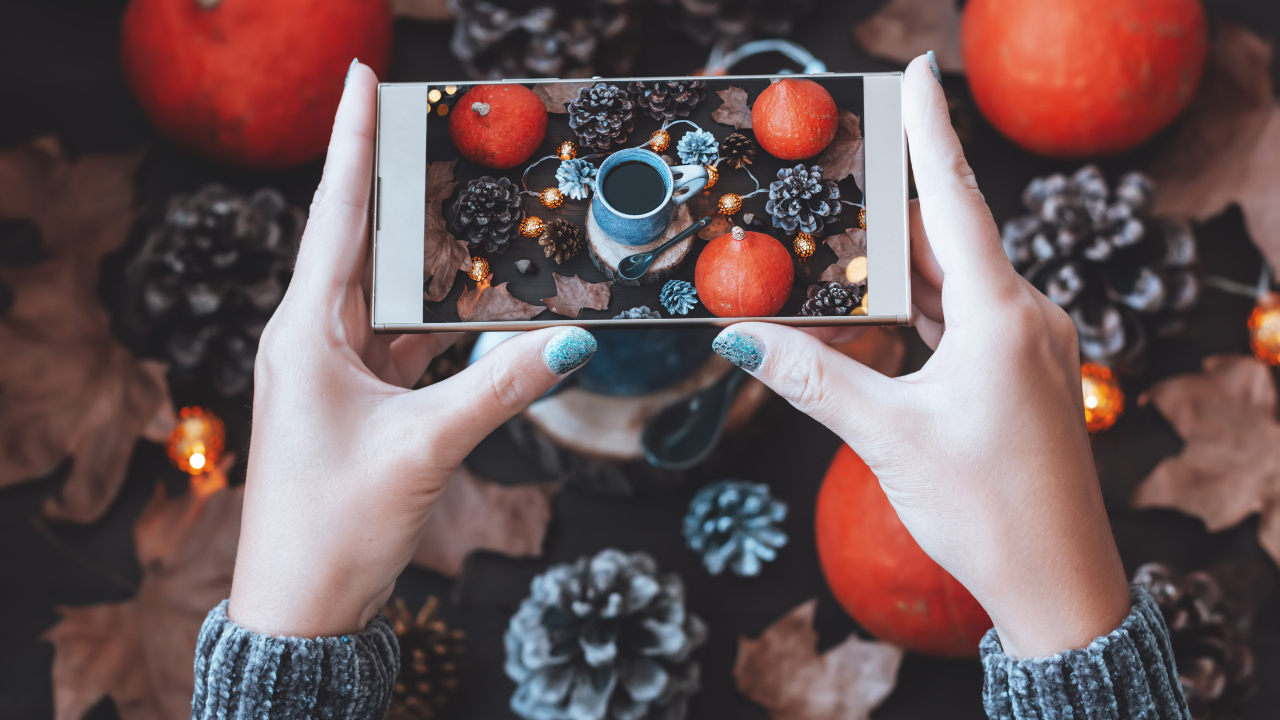
And take the time to edit your photos before using them. There are many apps out there that give you tools to edit your photos. Lightroom is a popular phone app that’s free, and can help you fix your white balance, make sure your colors are true and can sharpen and brighten your photos.
On a desktop or phone you can also use Canva to do some basic editing.
The idea is to make sure your photos accurately represent the items you’re selling. So you want your colors and textures to look just like the real thing.
If you’re overwhelmed by product photography or need more help, Shopify has a great tutorial on basic product photography. It’s perfect for newbies and for more experienced sellers that may need a refresher.
And if you’re looking to set up a new shop on Shopify, you can click here to get a 14 day free trial!
Holiday Product Photography for Handmade Businesses
Your product photos tell the story of your creations. They convey information to your customers that will help them decide whether or not they want to purchase your products. Taking photos of your handmade products for the holidays takes time, but you could see a nice return on your investment with more sales this holiday season!
Need some more help editing photos and creating graphics? I’ve got you covered! Clear Cut Canva was custom-created for makers like you who want to create gorgeous, branded graphics without having to hire a designer. Check out what’s inside!

Leave a Reply Cancel reply
You are in the right place, my creative friend!
After running bel monili (my handmade jewelry business) for 10 years, I launched Bloom in 2019 to create a community where handmade business owners could learn, grow, and support each other in this wild venture of small business ownership. Welcome to Bloom!
Join The MArketing School for Makers
follow
pin it
'Gram
watch
@bloombybelmonili
Awesome info! Thank you Lucy!!